Makeit & Bakeit Suncatchers and Pinwheel Snacks

So the whole neighborhood has gone on vacation. There is no-one to play with or talk to. Except me. Cos Dad's working through the weekend. Plus, it's been a rather gloomy day with sprinkles every now and then.

What does an 8 year old do?

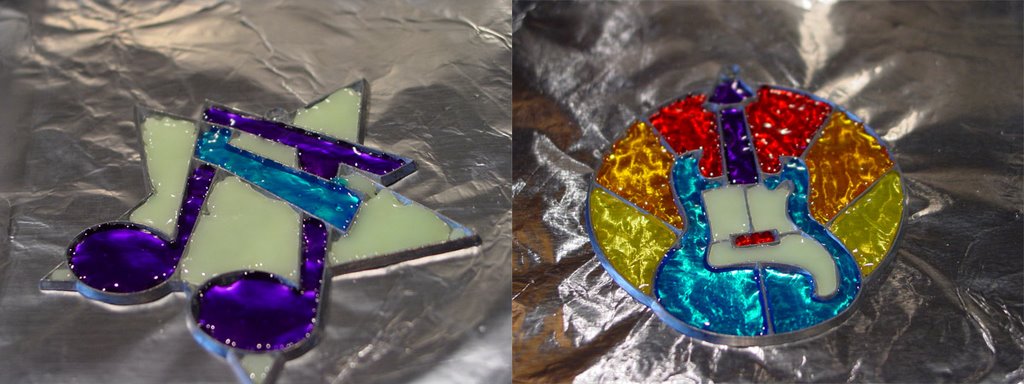
Well, she makes Makeit & Bakeit glowing sun-catchers...
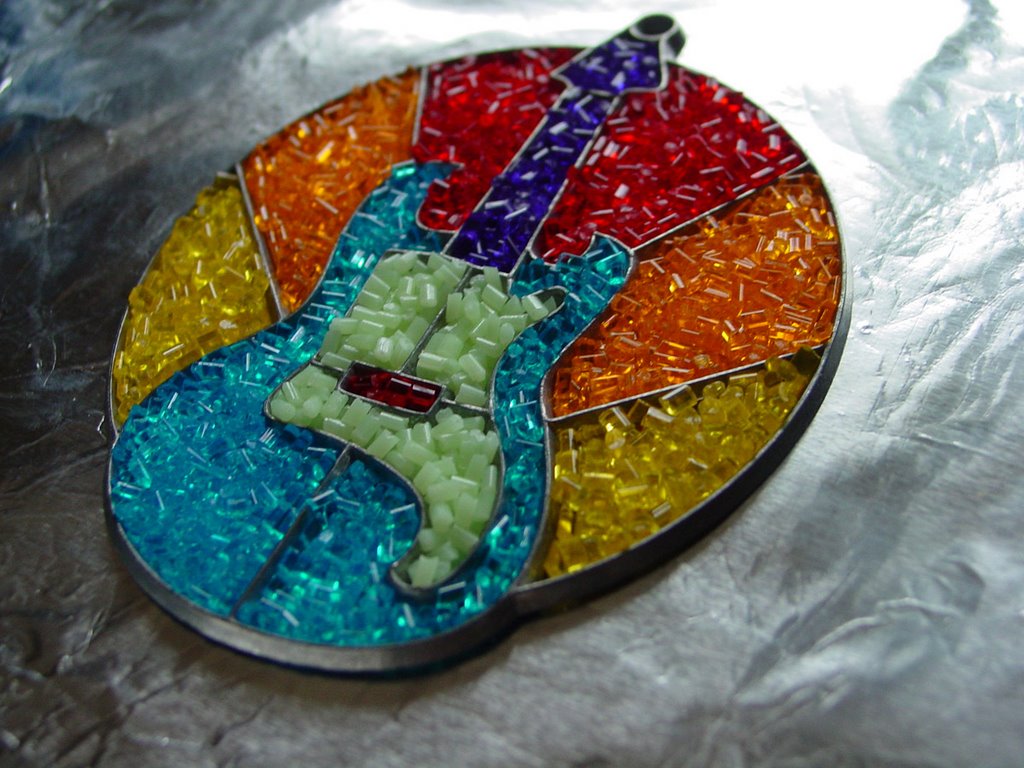

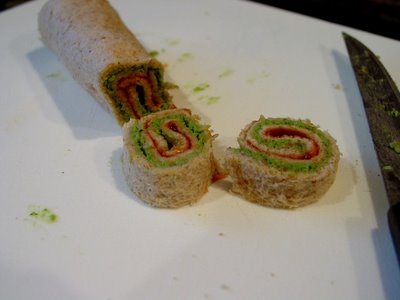
and while they are still baking, I rack my brains, remember an old Khana Khazana show, and make pinwheels for a snack...
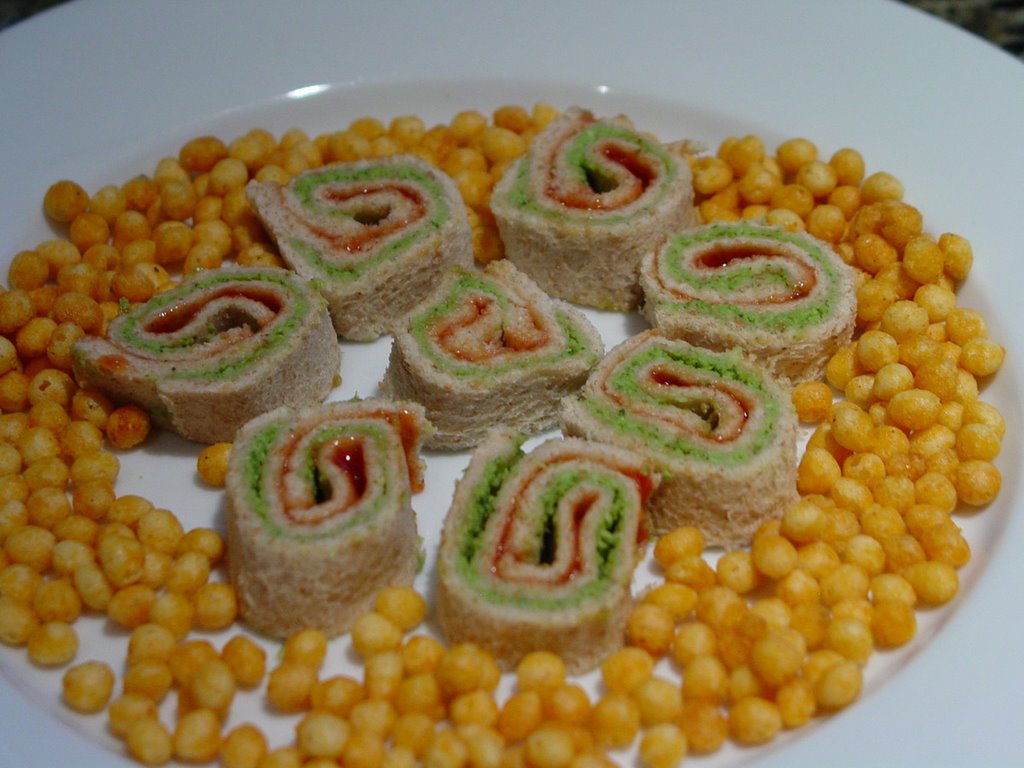


These were easy to make and a great hit!

Pinwheel Snacks


  • Two slices of bread
  • Green chutney
  • Ketchup (for the kid version)
    or
    Spicy red garlic chutney (for the adult version)

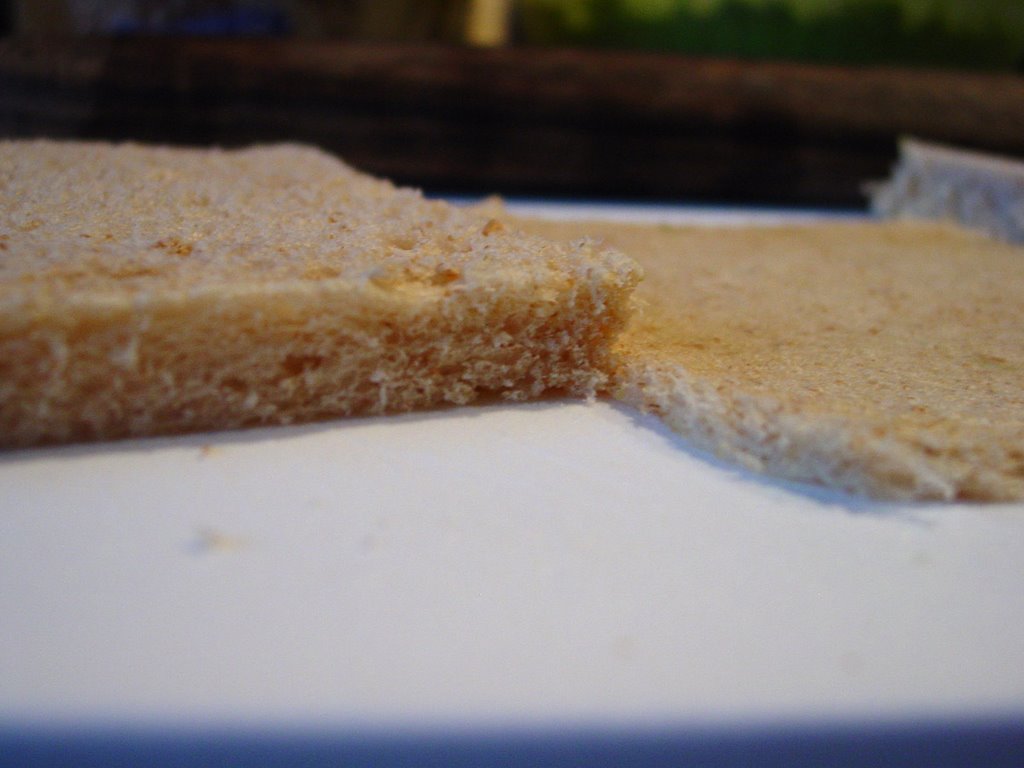
  1. Cut the crust off each slice.
  2. Flatten each slice of bread by with a rolling pin.

  3. Spread green chutney on one side of a flattened slice. Cover this with the other flattened slice and spread ketchup on the one on top. (Or spicy red garlic chutney for the adults).
  4. Roll it up carefully, pretty much like you would roll up a sponge cake for a Swiss Roll.
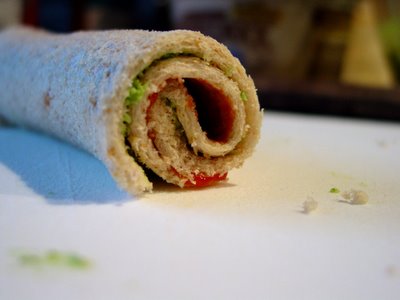

  5. Slice each roll into 8 pinwheels.

    and serve immediately!
The pinwheels disappeared almost instantly. The boondi was quickly smothered in yogurt for an impromptu boondi raita that was consumed with relish.

The glowing suncatchers are out of the oven and we are waiting for them to cool before we hang them on Medha's window.

Dear Toothfairy


Priceless!

Hyderabadi Marag in a Slow Cooker

Surfing the Indian food blogs has opened up new frontiers within the realm of Indian cuisine for me. I get a virtual treat through posts that are beautifully engineered with delectable presentations and I also have new recipes to try out. One such recipe was Marag from Nabeela of Trial and Error.

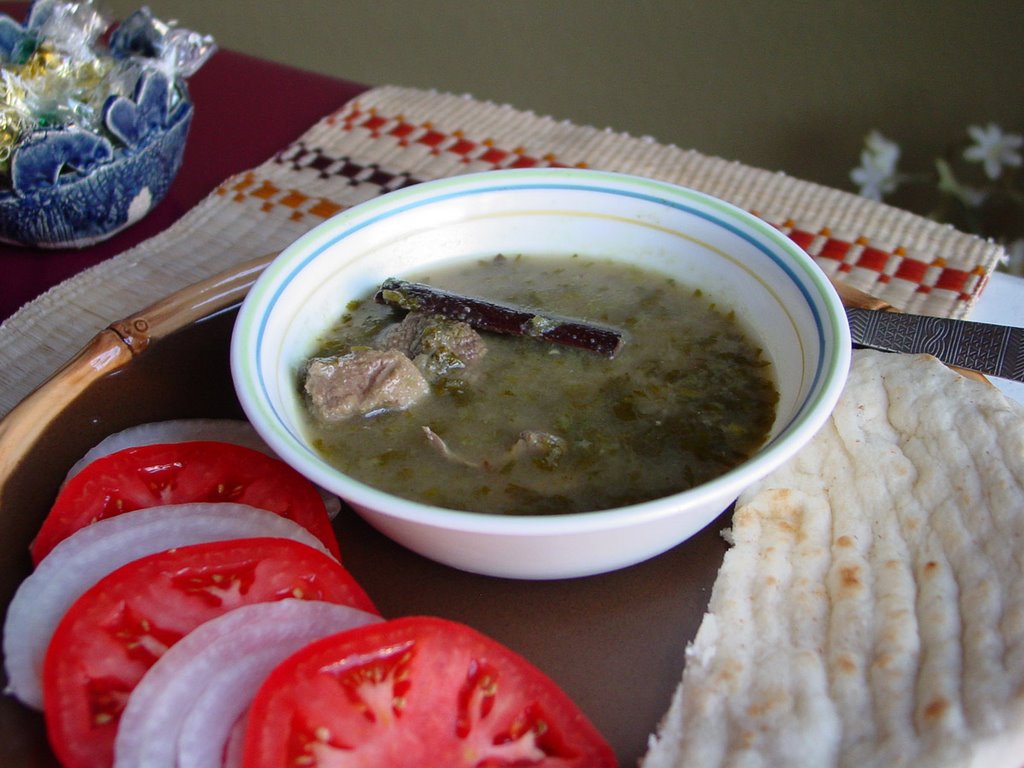
Visitors with vegetarian preferences followed by a much needed vacation for me, kept me from trying Nabeela's Marag. It was, however, the first real meal I cooked on our return. I did put my own spin on it, of course. What is a recipe without one's own special touch? I do have an admiring audience at home, whose expectations must be met in order to maintain my reputation!


Marag is not a misspelling of murg; it is an Arabic term for a spicy stew or curry. It could be tomato based and have a medley of vegetables in it. Nabeela's recipe is the Hyderabadi version of Lamb Marag. It is usually made with lamb meat for stew. Interestingly enough, marag is also a Gaelic term for blood pudding! I am not sure how I feel about blood pudding but one thing is for sure, the marag I made was simply out-of-this-world delicious!

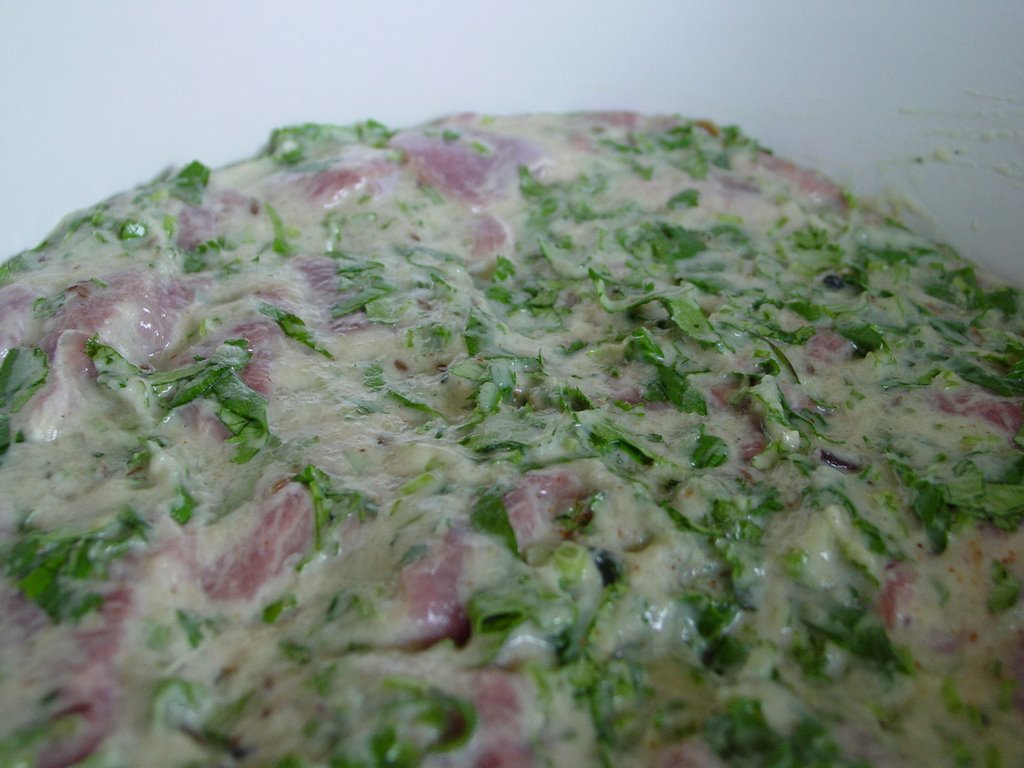
I tripled Nabeela's recipe as I had about 3 lbs of boneless lamb.


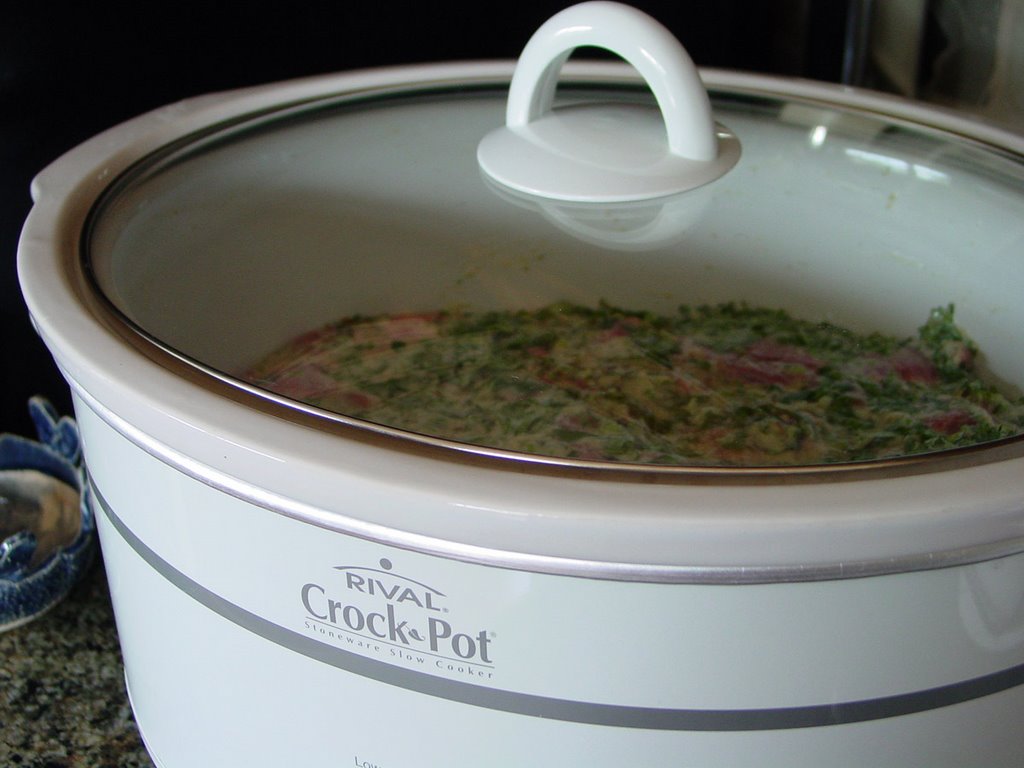
Nabeela's recipe calls for most of the cooking in a pressure cooker, with some cooking in the microwave. I made mine in a slow cooker.


The list of ingredients appears daunting but it's a really easy recipe to follow and make.

  • 3 lbs boneless lamb, trimmed and diced
  • 2 large onions
  • 3 tbsp olive oil
  • 2 tbsp pure ghee
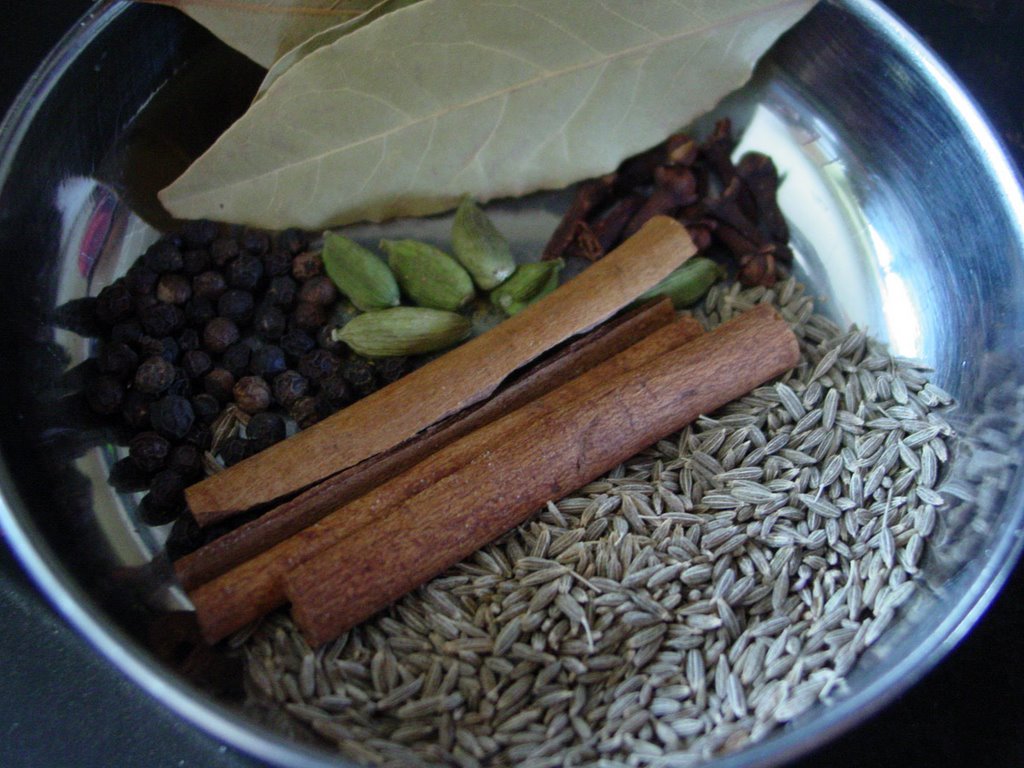
  • 3 tsp cumin seeds
  • 3 cinnamon sticks
  • 3 tamalpatra bay leaves
  • 6 green cardamoms
  • 9 cloves
  • 30 peppercorns
  • 2 tbsp ginger paste
  • 2 tbsp garlic paste
  • 7-8 Thai green chillies
  • 2 bunches of cilantro, chopped fine
  • 2 cups plain yogurt, preferably homemade
  • 2 tsp garam masala
  • 1/2 tsp black pepper powder, freshly ground
  • Salt to taste


  1. Heat the olive oil and ghee in a saucepan.
  2. Add all the whole spices and cook on medium heat until the spices release a heavenly aroma. Do not let the whole spices turn dark in color or burn.
  3. Dice the onion and blend it in a blender to a fine paste. Add this onion paste to the oil and spices.
  4. Add the ginger and garlic pastes and saute on high for about 5 minutes.
  5. Transfer this to the slow cooker and add the meat and yogurt.
  6. Blend the green chillies well in about 1 cup of water. Strain this mixture, reserve the chilli water and discard the residue. Add this to the slow cooker.
  7. Add the finely chopped cilantro.
  8. Add the garam masala and salt. Mix well.
  9. Slow cook on High for 1 hour, followed by 2 hours on Low.
  10. Do a taste test to see if you like it soupy or with a thick sauce. I loved the flavors so much that I could see myself slurping on the sauce. So I added 2 cups of water to make it more soupy. Adjust for salt if you do what I did.
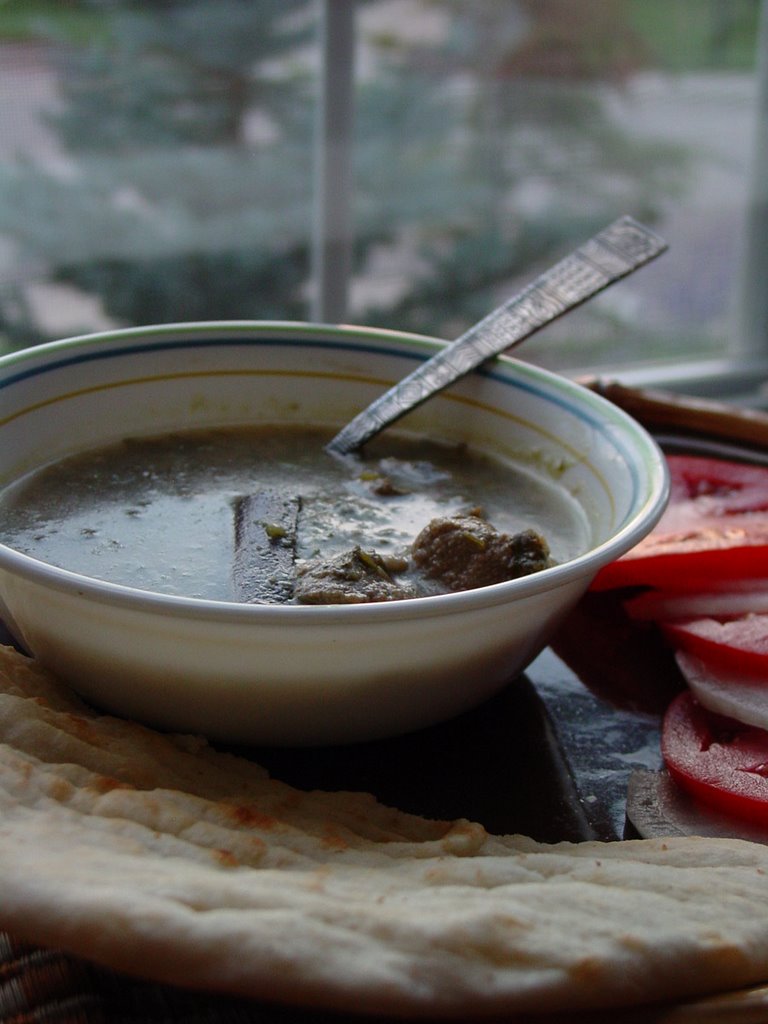
  11. Add freshly ground black pepper just before serving with hot naan or toasted sourdough bread.

This is my new comfort food! It's easy to make! It's hearty, spicy and delicious! Never before have we consumed 3 lbs of lamb within a week. Last week, we had marag for at least 3 meals and quite honestly, I could have had it for a few more, too!

This recipe is a keeper and it's something I will be making on a regular basis, especially in the cold autumn days.

Thank you, Nabeela!

Lemon Pickle Update II - It's Ready!

My lemon pickle is ready! Actually it was ready in 4 weeks but I haven't been able to post an update as this summer has been the busiest ever: birthday party for Medha, visitors, vacation and a huge backlog at work. It's not over yet cos Medha's school friend from New Lenox is coming to stay with us next week but two little girls should be easy to handle. Or am I expecting too much?!


I was surprised that it took only 4 weeks to cook in the sun. But I attribute that largely to the intensity of the sun here in Colorado; we are at a higher altitude which makes the sun even more fierce. I also think that the unexpectedly hot start to this year's summer played a significant role. The usual cooking time in the sun is about 2 months.


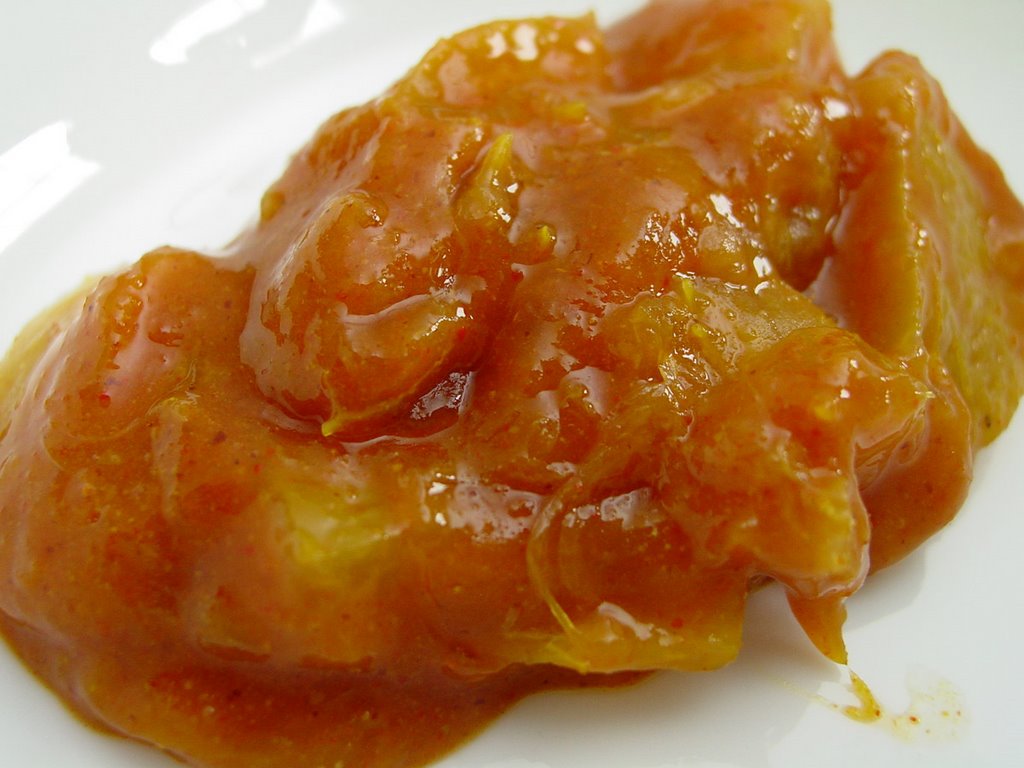
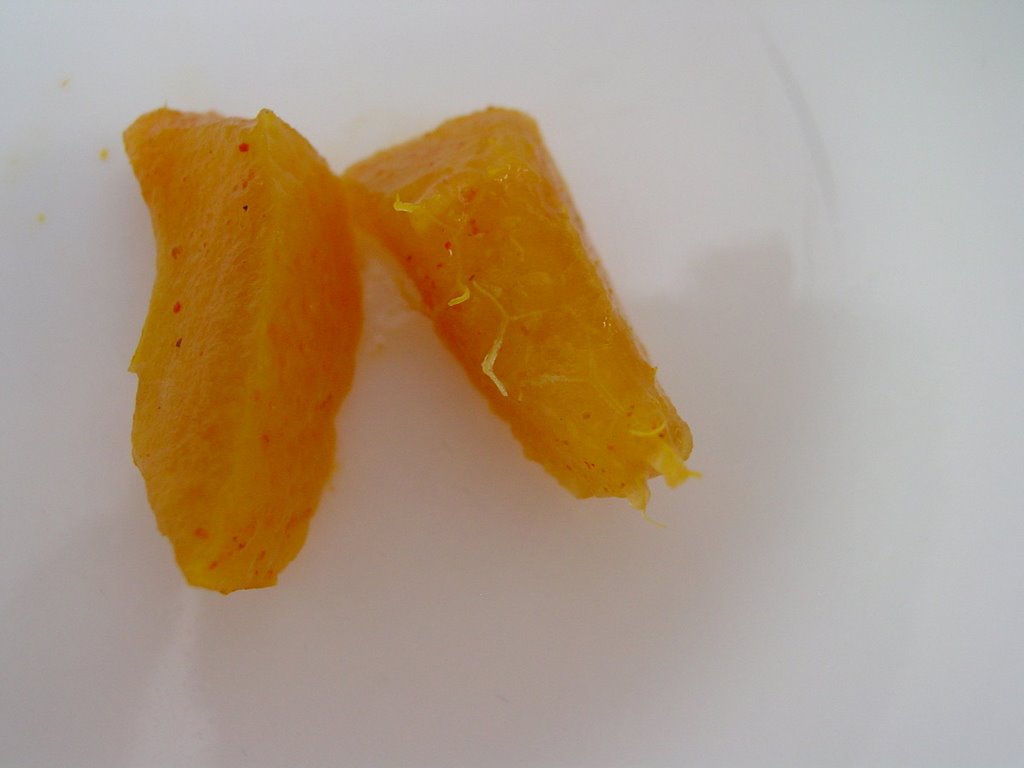
The juices are so thick that they stick to the lemon pieces. The thickened juice is called khaar in Marathi and a lemon piece are called limbachi phod. I washed and sliced one of the lemon pieces to show what the peel looks like when it is pickled and ready to eat. The thick peel is no longer crisp and no white parts are visible.


Once the pickle has reached this stage, allow it to rest in a dark place for at least 3 days, preferably a cool cabinet that is not opened frequently. Once past this stage, store the pickle in smaller glass jars in the refrigerator. The advantage of storing it in small jars is that you reduce the chances of contaminating the whole batch if someone double-dips into it or a not-so-dry spoon is used while serving. Storing it in the refrigerator also makes it last that much longer.

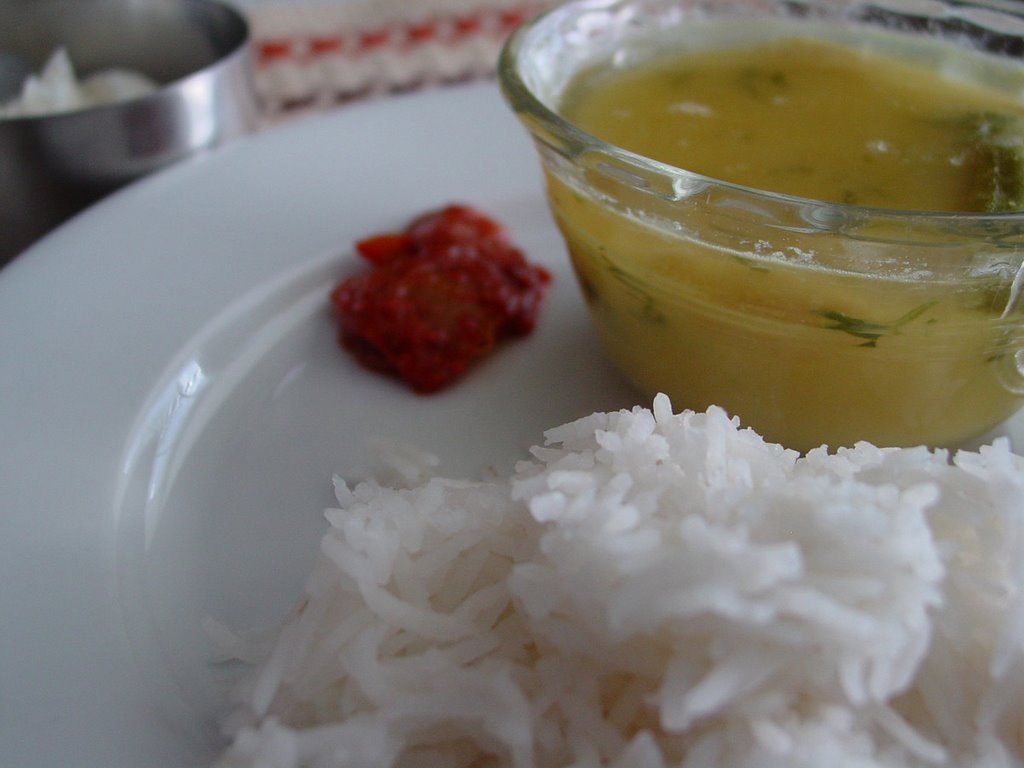
We love to have this lemon pickle on the side with meals, like we did with this simple meal of rice and thoy, a simple dal with lots of ginger.


Or with phulki (roti) and farasbeechi bhaji, which was our simple dinner last night.


We also love to have it with bagels. Yes! Warm bagels with cream cheese with a thin layer of lemon pickle. Delicious!

If you make this pickle, I hope you enjoy it as much as we do!

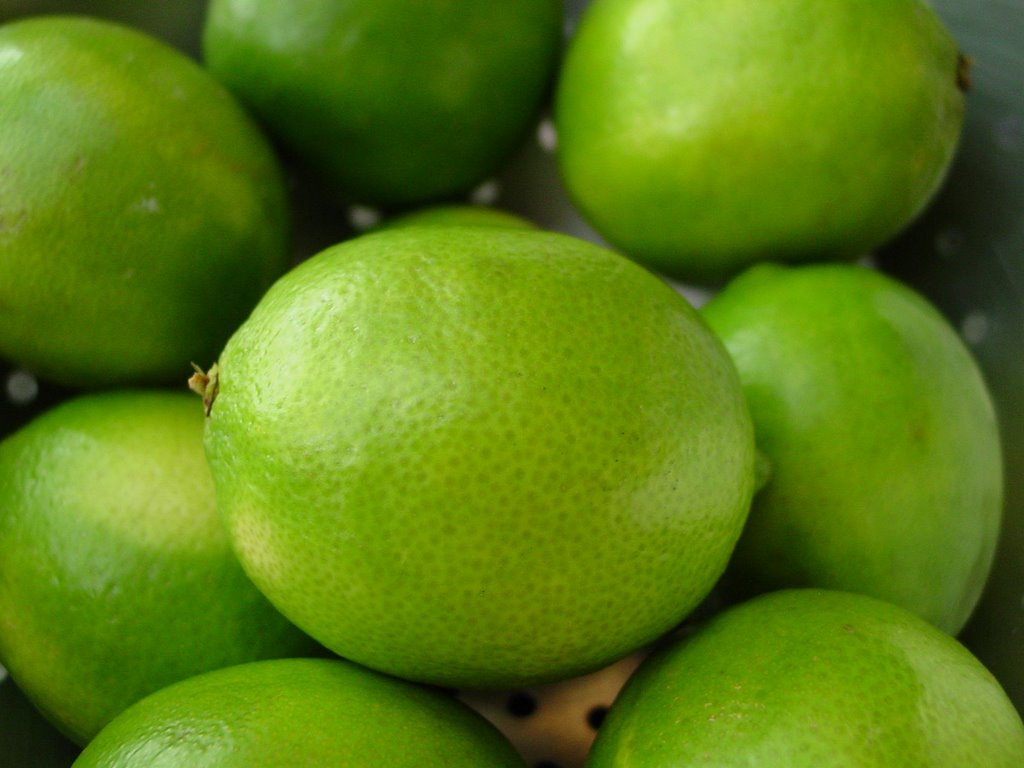
My next project is a lime pickle with ginger and green chillies, without oil and cooked in the sun. I hope to post the recipe soon!

A huge thank you!

I noticed recently that the traffic to my blog has been on the rise. That made me delve into the logs to see just where the visitors are coming from. And, below is a list of the Indian food blogs and web sites that have been sending me visitors on a regular basis since April 2006.

A toast and salute to you all!