On Thursday, I awoke to a low moaning sound in the house. It became louder as it came closer and sounded like someone was being strangled, a kind of strange screaming.
If I hadn't been lying awake, waiting for the alarm to ring; so that I could snooze it and finally go to sleep...
If I hadn't heard the patter of little feet...
If I hadn't heard the water run...
If I hadn't attended Science Night at her school the previous night, I would have been frightened out of my wits.
But not me! I knew exactly what it was. It was a Screaming Cup, being used insidiously by an 8 year old, who doesn't quite get "die of a heart attack!"
With Hallowe'en coming up on October 31, the Screaming Cup experiment was the most popular at Science Night, and tied closely with Stab the potato with a straw without breaking or bending it, the straw that is.
Definitely try this one at home. It's a hit with the little ones as well as the older balding ones. All you need is
a 16 or 24 oz plastic cup - the ubiquitous red kind do really well- a piece of string, about 18-24 inches in length
- water, or if you have a budding violinist at home, violin rosin
- Make a hole in the bottom of the red cup and thread the string through it.
- Knot the string well on the side that is inside the cup (my husband doesn't agree but this was the only way it worked for me. He insists it works better when you knot it on the outside and pull the string through the cup. These engineers...who cares? As long as it screams!)
- Wet the string or rub it well with violin rosin
- Hold the string tightly between your thumb and index finger near the bottom of the cup and start sliding it away from the cup. Squeeze the string really hard and as your fingers slip and slide along the string, you will hear the wistful moaning that filled my home at dawn that morning.
Why does this happen, the young inquiring mind might ask. Er...the older one, too. As your fingers slip and slide on the string, there are vibrations in the string. These vibrations make the cup vibrate, which bounce off the insides of the cup and end up creating an amplified sound wave. Or more like a scream that is perfect for Hallowe'en!
What does this have to do with food? Not much. Actually, nothing. I could lie and say that this experiment did not work till I came home and got a bite of my delectable Orange Burfi. But I would classify that act only as one to be abhorred.
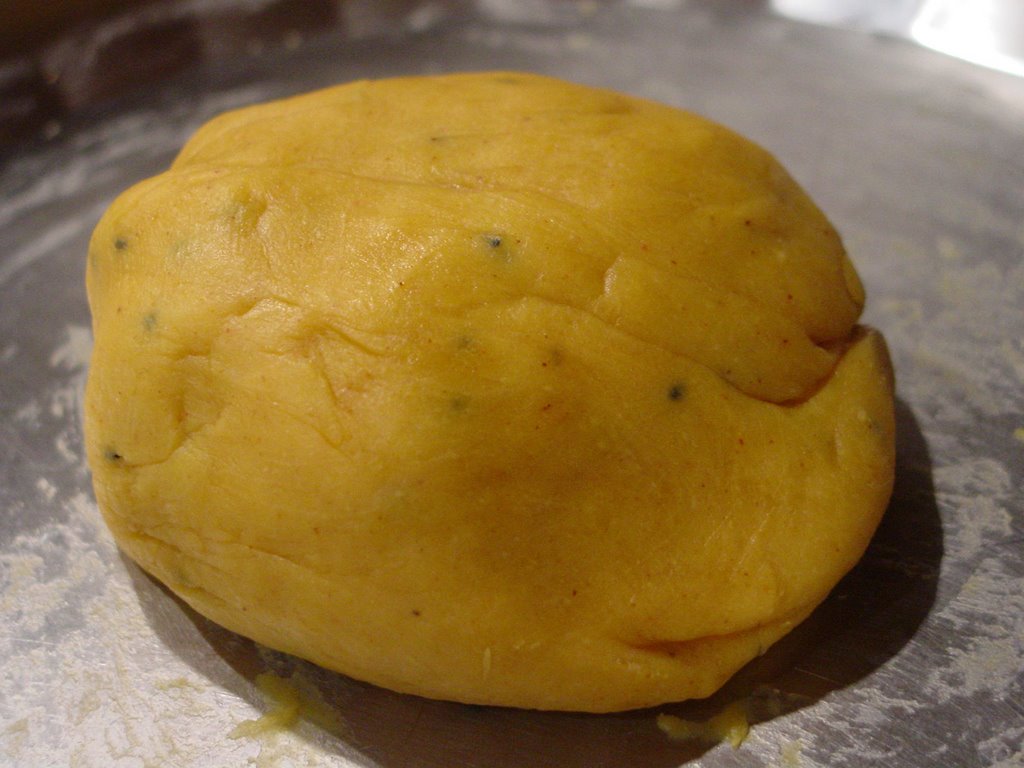
I found this little gem in
my mother's blue diary. I am not a fan of the Indian halwas and burfis, except for gajjar halwa but I changed my tune when I made this orange burfi. It's very different from any burfi I have ever had till date! I made it for Diwali;
Bhau Bheej, really. To raise a toast to all those wonderful male cousins who get away year after year by not giving me that envelope stuffed with money that is rightfully mine!
Orange Burfi
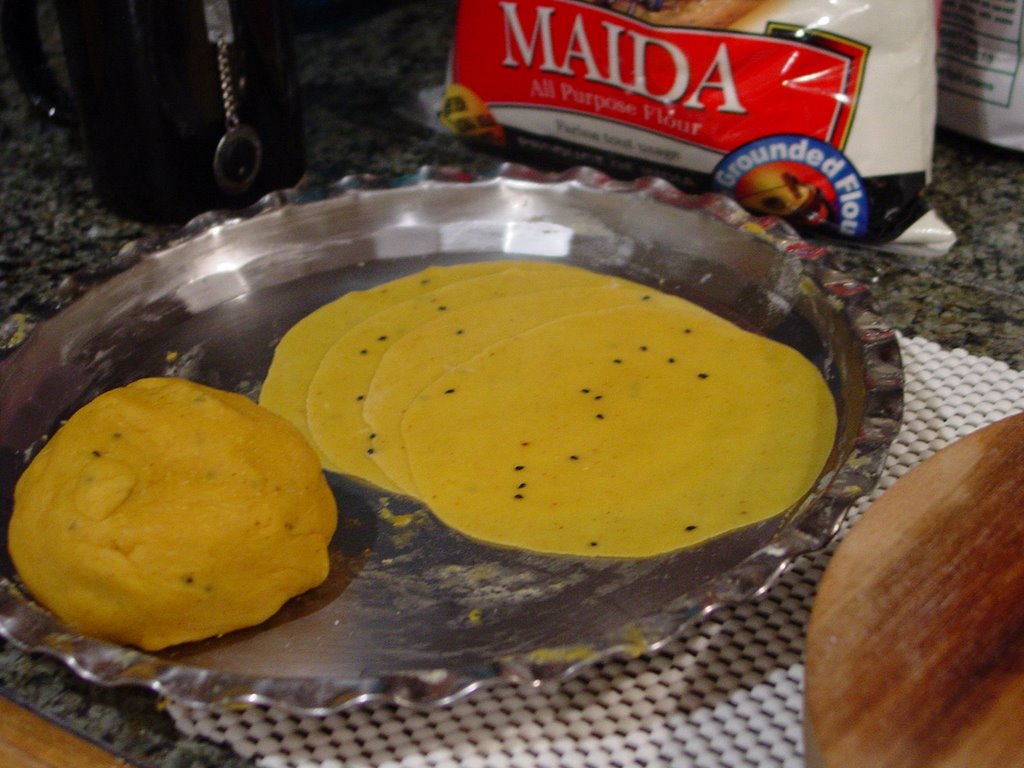
- 1 cup maida
- 1/2 cup ghee
- 1 cup sugar
- 1/2 cup milk
- 1/2 cup orange juice
- 3-4 drops yellow food coloring (optional)
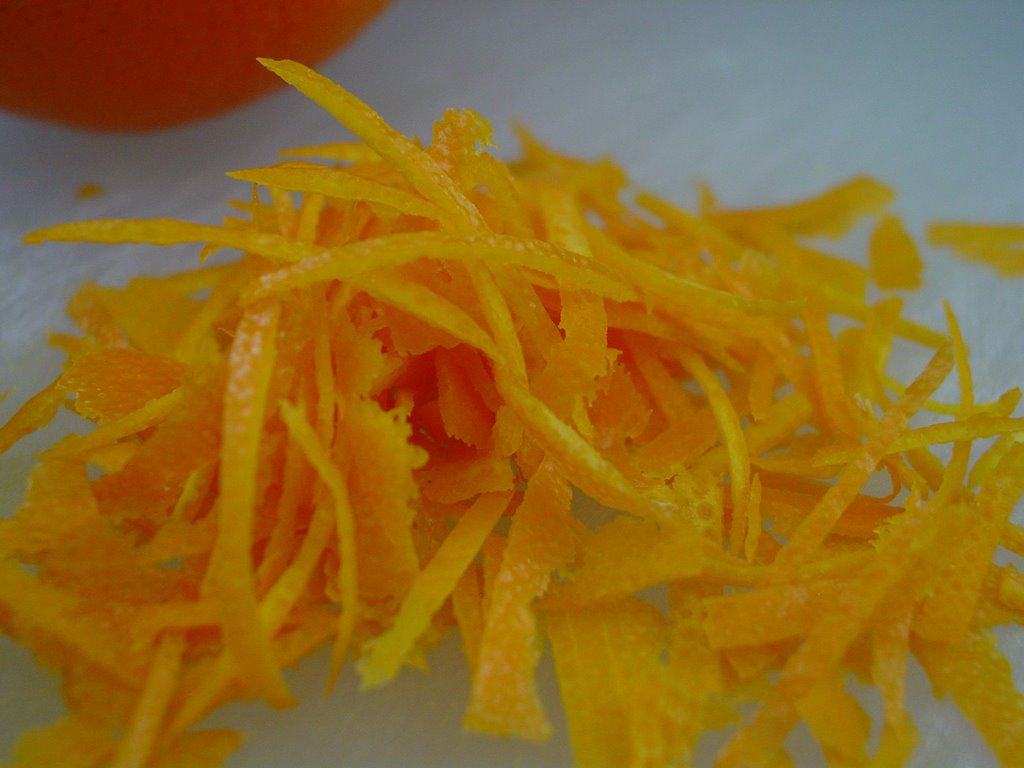
- peel of two oranges
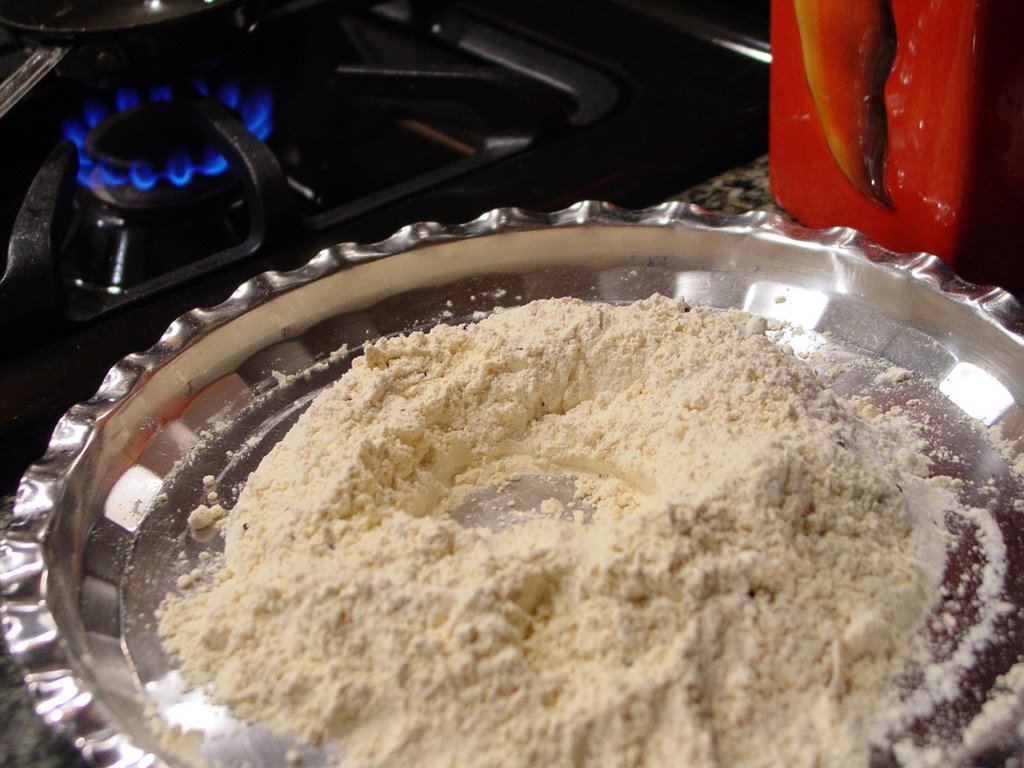
- Heat the ghee in a kadhai
- Add the maida and cook on medium-low, stirring frequently, till the maida is golden in color
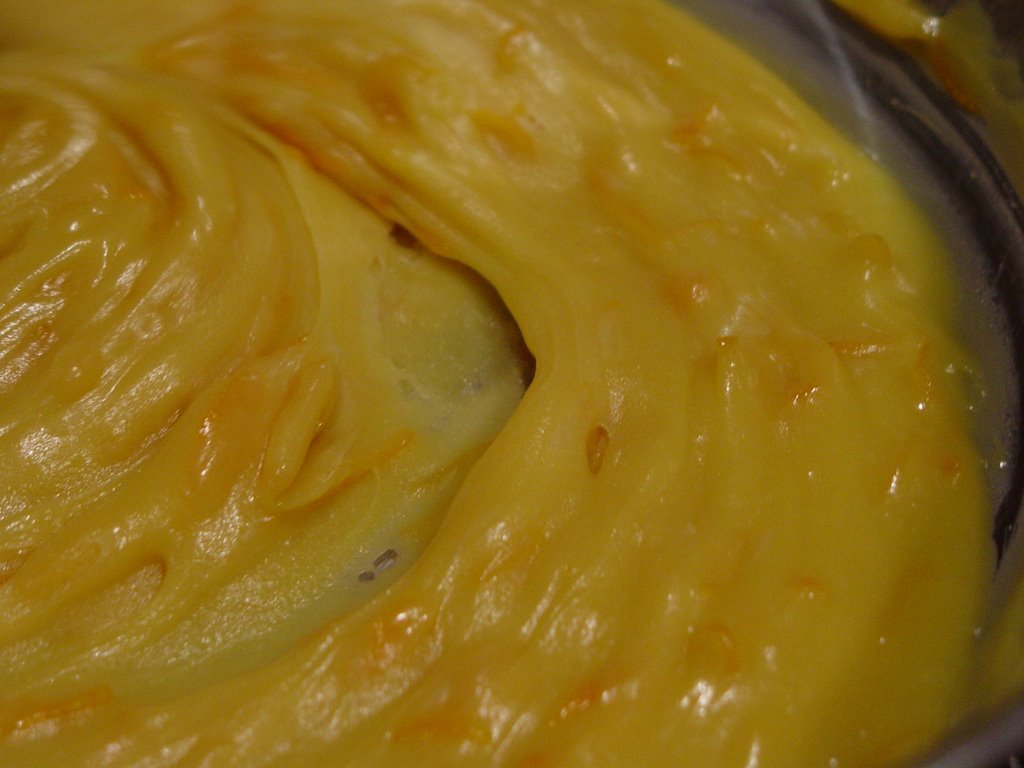
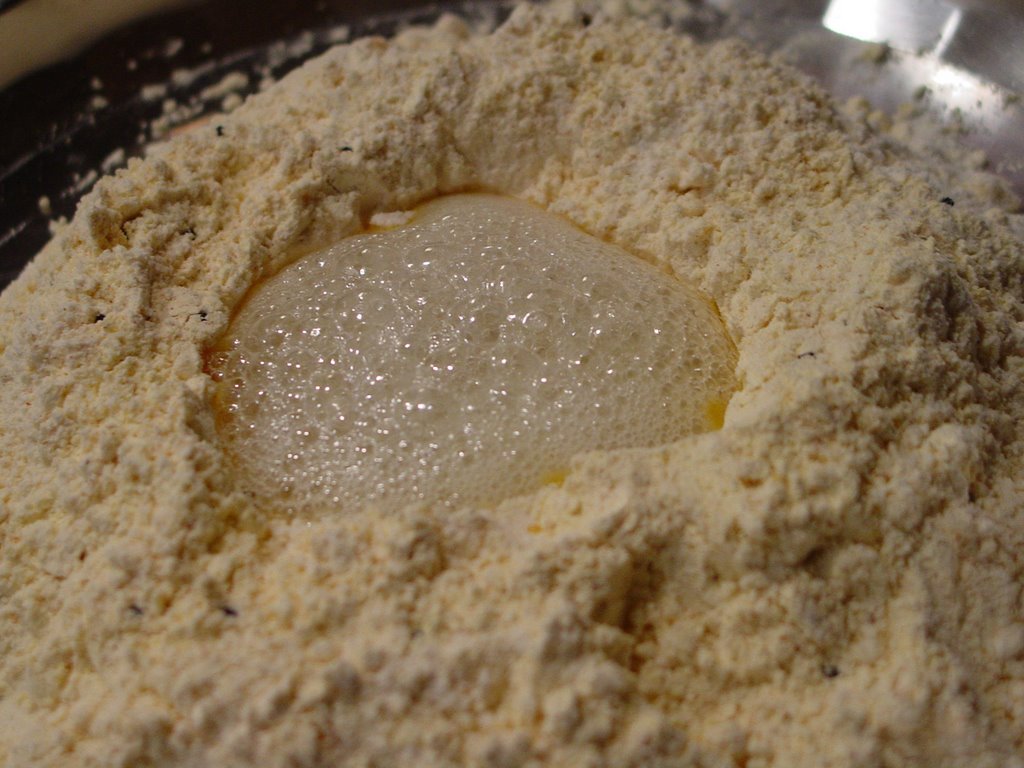
- Take this out in another bowl and add the milk, sugar, orange juice and orange peels to the same kadhai in which you were cooking the maida in ghee.
- Cook on medium-high till you have a syrupy mixture. It took about 12 minutes or so for me.
- Add the food coloring and stir. Food coloring is another thing that I am not crazy about but I added about 3 drops nevertheless.
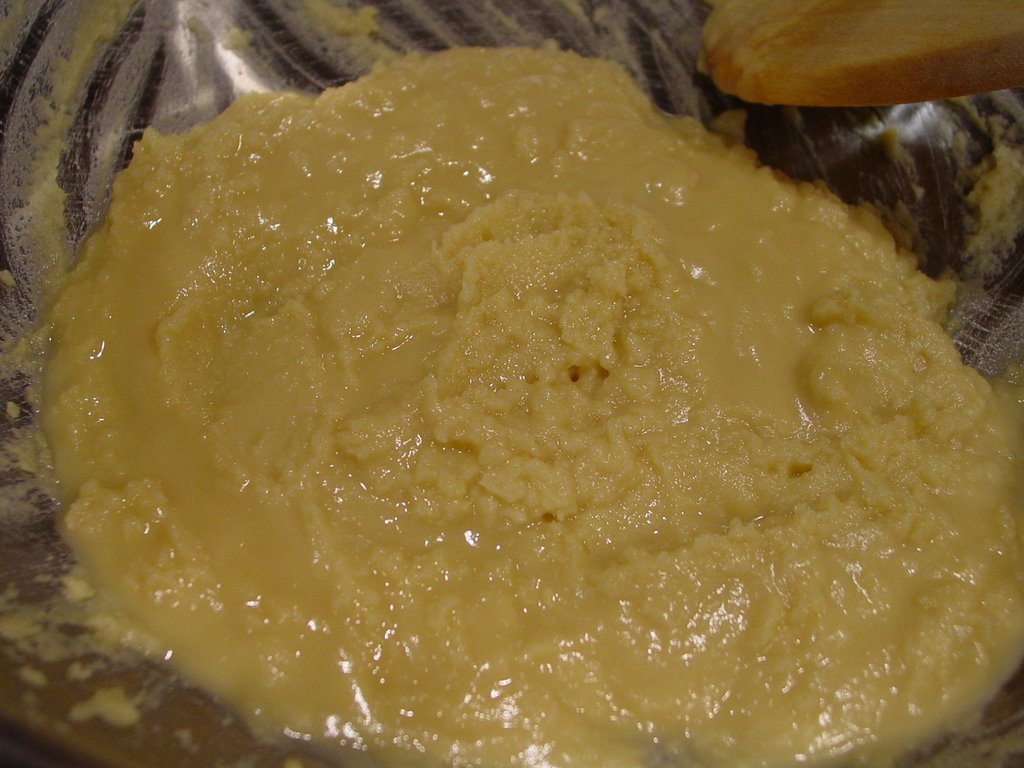
- Add the maida and ghee mixture and cook on medium low till the ghee starts to leave the sides...just kidding! till the ghee starts separating from the mixture.
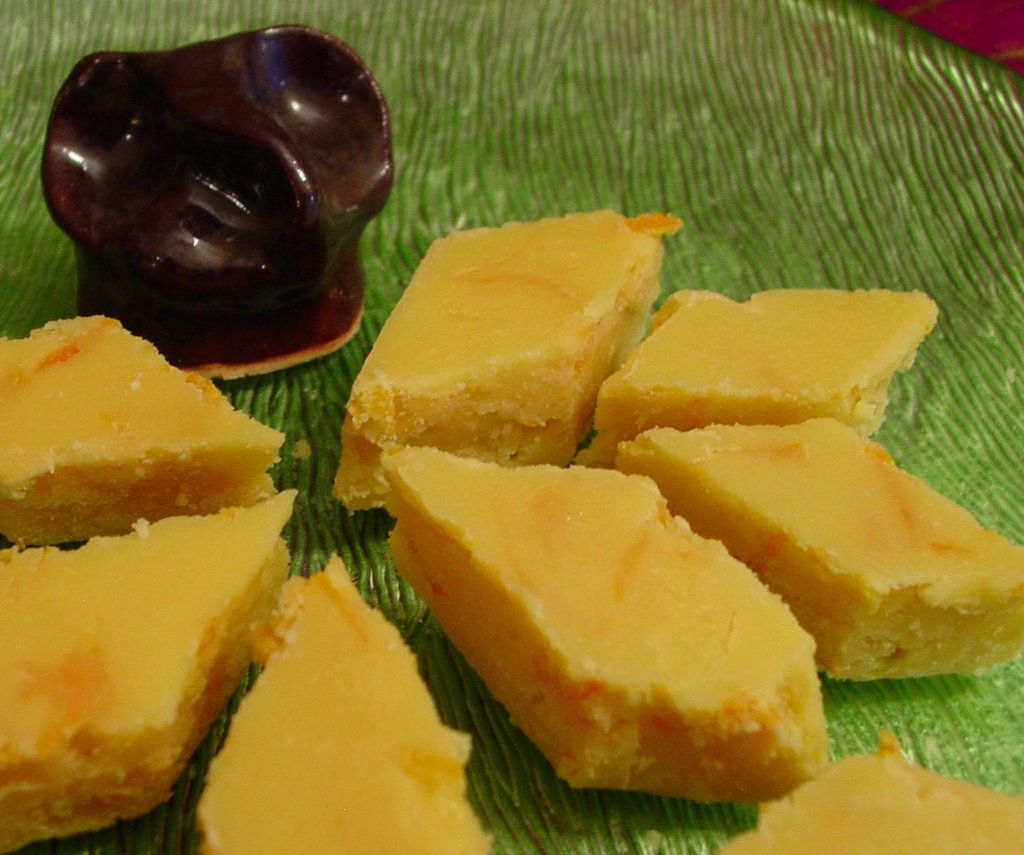
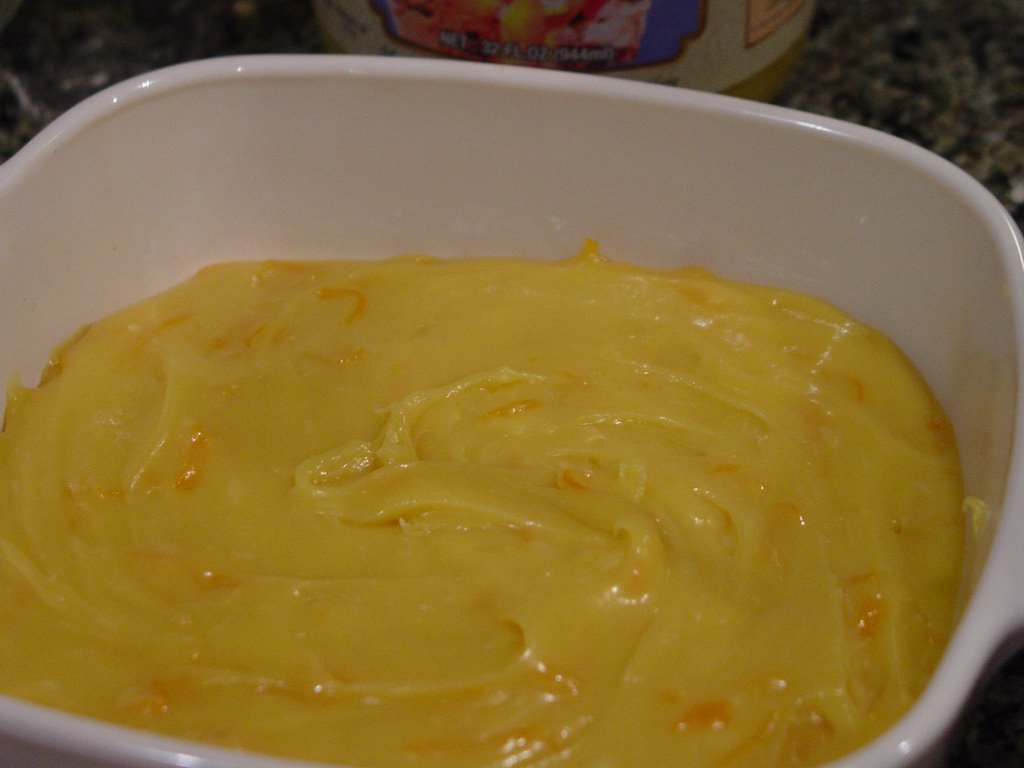
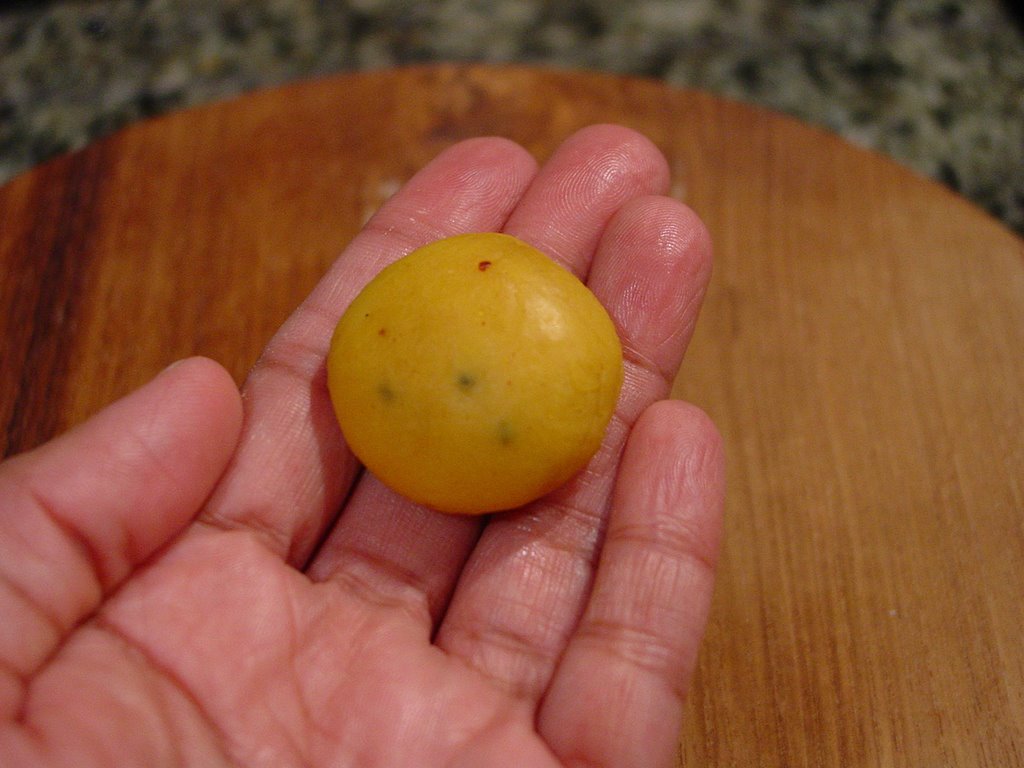
- Put the mixture in a greased pan or casserole and spread. I used a small 6 inch by 6 inch casserole. If you use a larger one, the burfi will be flatter. I like mine thick!
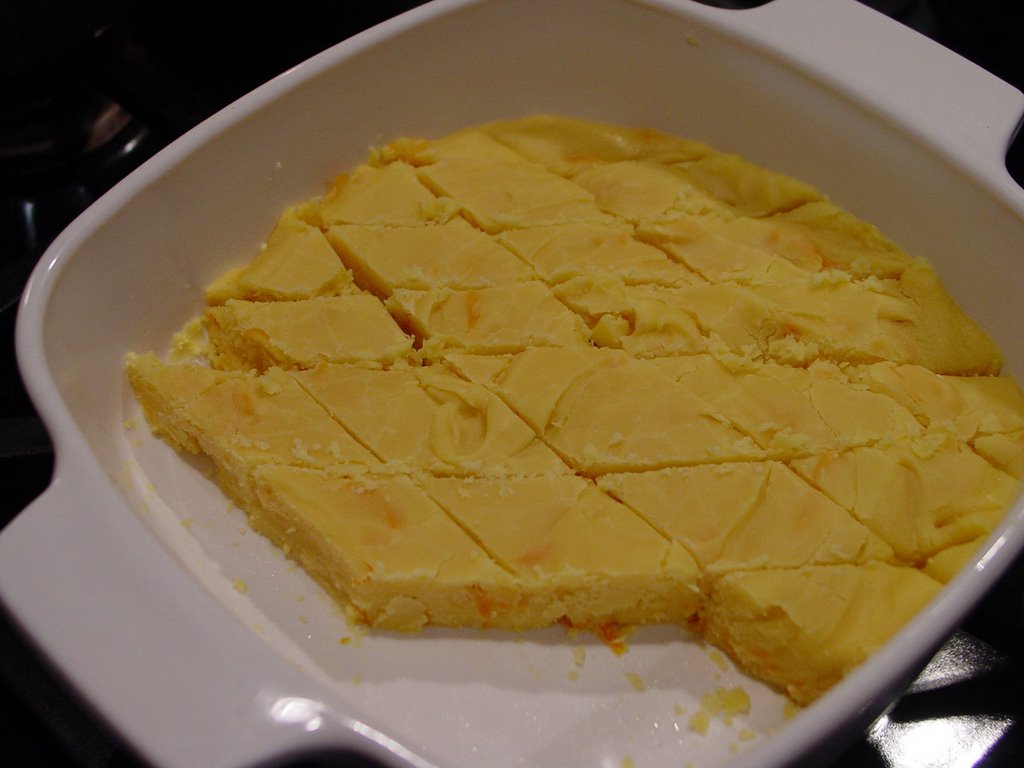
- Allow the mixture to cool and regardless of what the engineers may say, let it cool completely before attempting to cut it into cubes or diamonds. I let the engineer have his say - he had helped stir, you know! - so the edges of my orange burfi are not as smooth as they could be.
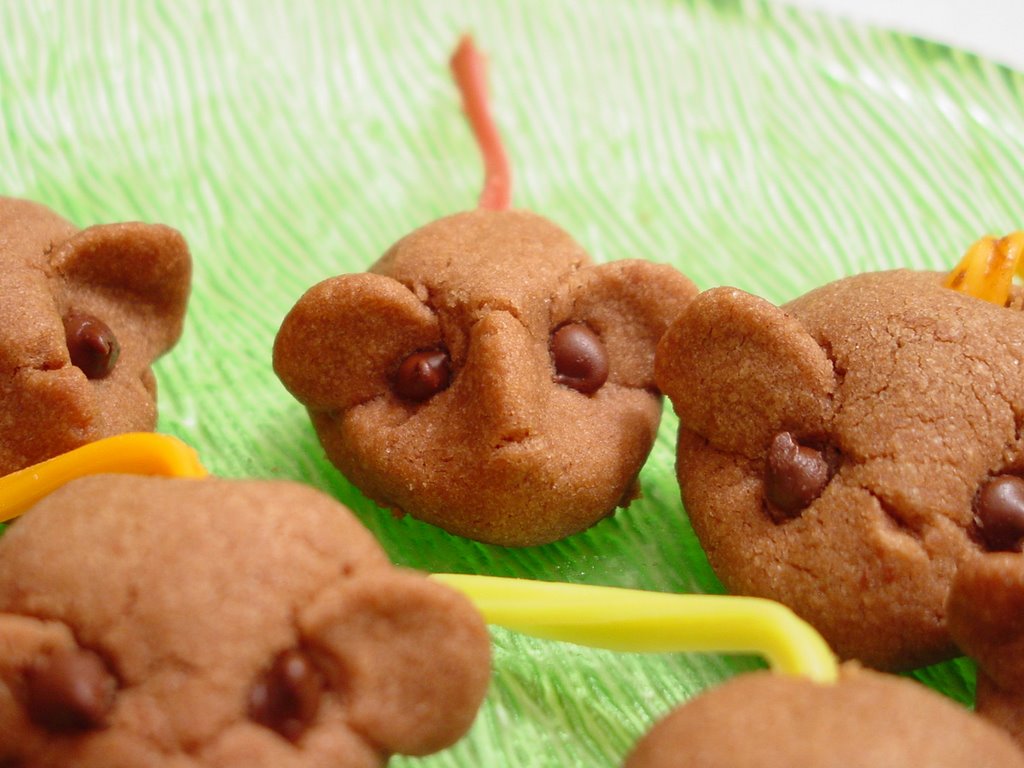
Some burfi went AWOL when I was not looking!
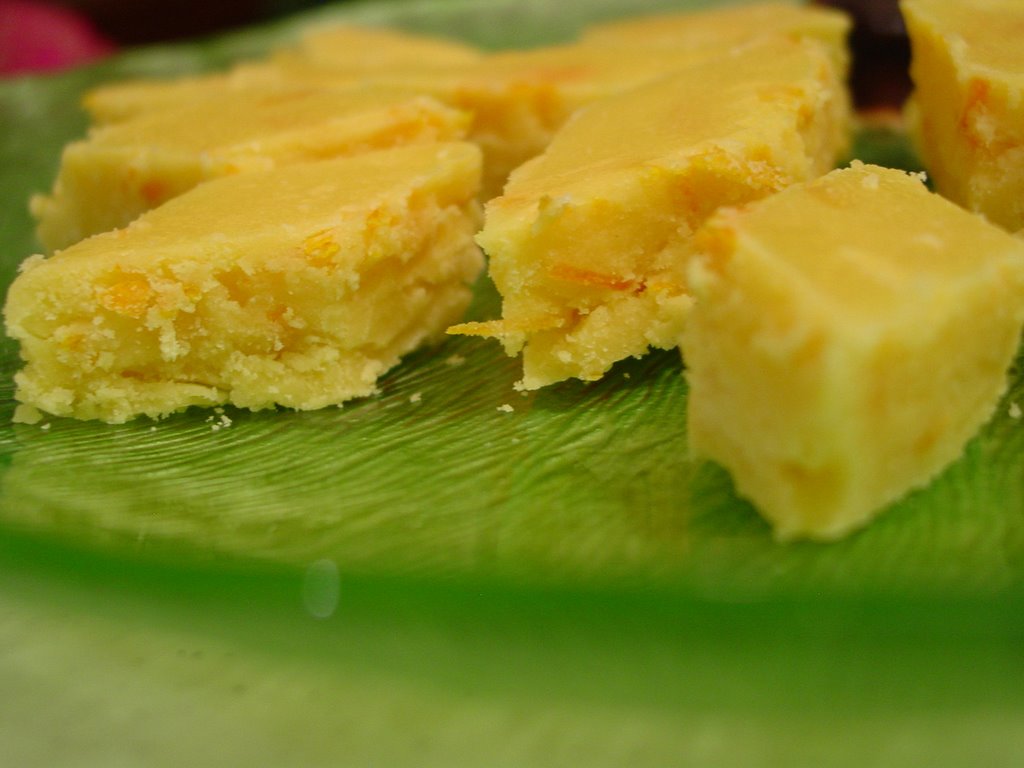
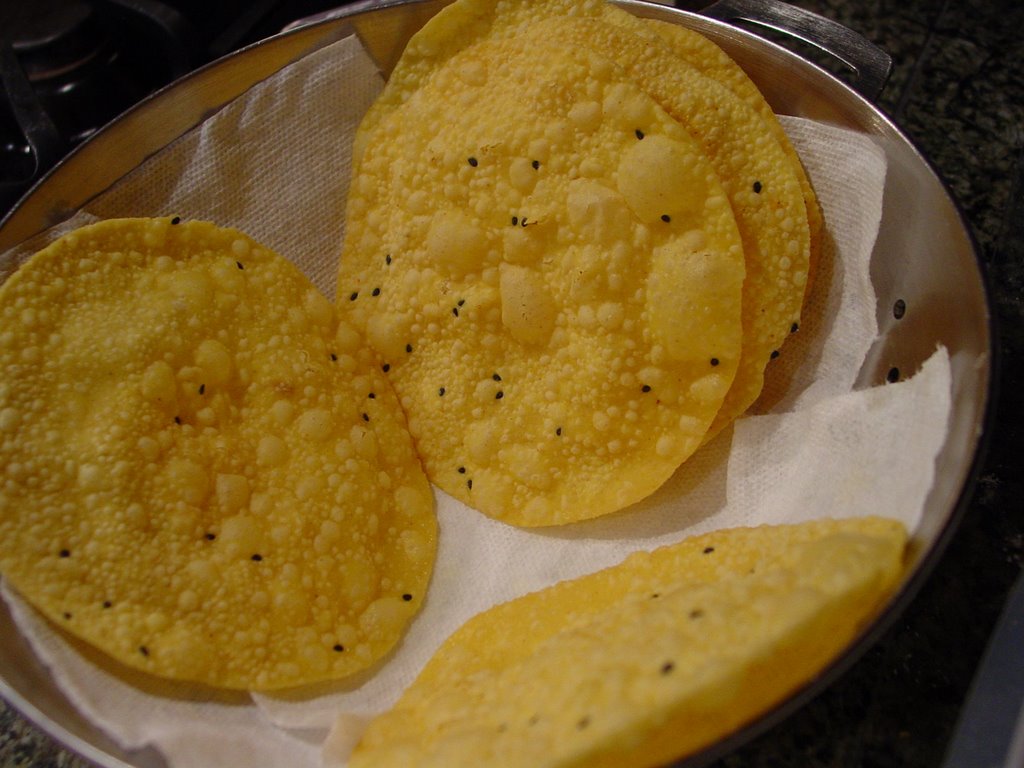
There it is! Orange Burfi!
The original recipe in my mother's blue diary calls for 2 cups of sugar. I thought that would be too sweet and used only 1 cup. The consistency of the sugar syrup therefore plays an important role in how firm this burfi will be. If you like it really sweet, go ahead and use 2 cups of sugar. I also think that since the weather is cool enough for to ghee solidify at room temperature in my home, using less sugar worked for me.
This Orange Burfi was given a rating of Yumilicious by both my family and my neighbors. The taste of the orange peel, followed by the orange juice dominate this burfi. The ghee makes it rich. Try it!
On a lark, I am going to send this to
VKN's VCC Q3 2006, where the theme this quarter is
Festival Foods from the world over.
Orange Burfi? Very festive. Very different.
Update: Even though she didn't taste them, this orange burfi has
been to London to see the Queen! All kudos go to
Shahpar Selim, of course!