Doing the Secret Santa Rounds

Yes! It's time for Secret Santa, already! Some of you might remember the nameplate that Medha and I made last year. And the Secret Santa game that the kids in the neighborhood play every December. We pulled names for each of our kids when we went for the gals night out at Juju Beads, in downtown Louisville. And, I pulled a boy's name.

Mumma! He's a boy!

But it's not that bad cos she tolerates older boys better than younger boys. Um, maybe that's not such a good thing! But this kid is a good kid. He even plays chess!

So two homemade gifts need to be made and delivered secretly; the final gift (under $10 or is it $15?!) to be kept under the tree on the day of the party.

What does one give a boy?! You can't give him a beaded necklace or earrings! A nameplate would just give it all away. He is Jessie's older brother. All the artsy-crafty stuff would be lost on him. Boys like food, said Medha. She remembered selling him snow cones for $1 in summer. Why don't we bake cookies? Yes! And, a perfect time to try the Stained Glass Cookies that I have been seeing in my dreams, ever since I saw Deeba's cookies on Susan's Christmas Cookies from Around the World event.

Stained Glass Cookies

Recipe from Passionate About Baking


  • 3/4 cup butter ( 1.5 sticks)
  • 1 cup sugar
  • 1 large egg
  • 2.5 cups all-purpose flour
  • 1 tsp vanilla extract
  • a pinch of salt
  • 10-12 brightly colored Jolly Ranchers or Lifesavers or any other hard candy, crushed.


  1. Ensure all ingredients are at room temperature. If it's winter and you have your heat set to 69F, then - like Medha - you, too, might wonder what room temperature means!
  2. Cream the butter and sugar together until it is smooth.
  3. Add the salt and vanilla extract and beat till mixed.
  4. Add the egg and beat till well mixed.
  5. Mix in the flour to form a firm dough. If you are doing this part by hand, then gather it together firmly and knead it a little bit to bring it together. Otherwise, it will fall apart and it will be difficult to roll it out later.
  6. Press the dough into a rectangular shape, wrap it in plastic wrap and chill it for at least 10 minutes or so.
  7. Preheat your oven to 350F.
  8. While the oven is pre-heating and the cookie dough is a-chillin', separate the Jolly Ranchers according to colors and put them in baggies. Crush them using your mortar-pestle. Or just hammer them with whatever works for you. A mallet, maybe?
  9. Line your cookie trays with parchment paper.
  10. Cut the dough into thirds and roll it out to about a quarter inch thickness. I had to knead my dough a little bit to make it easier to work with.
  11. Cut with your favorite cookie cutters.
  12. Cut out smaller shapes, but not too small, like triangles or circles or hearts from each cookie.
  13. Transfer the cookie to your baking tray and fill each cookie with different colored crushed candy.
  14. Bake for 10 minutes. Pull out the tray if you see them getting too brown. It's way cool to see the melted candy bubble away in the oven!
  15. Remove the tray from the oven and let the cookies cool on the tray for a couple of minutes. If you see gaps in the melted candy, use a toothpick to spread it before it cools and hardens again.
  16. Transfer the cookies along with the parchment paper to a wire cooling rack. Peel off the parchment paper only when completely cooled.
  17. This recipe makes approximately 4 dozen 3" cookies. Less if you use an assortment of shapes and sizes.


The cookies were delivered on Monday right after school in an unassuming brown paper bag, with a thoughtful note explaining that these were basic sugar cookies with melted Jolly Ranchers. There were no escapades like those from last year or the previous year. And I am very relieved because we had a storm over the weekend that dropped about 4-5 inches of snow and the sidewalks were icy from the thaw and freeze.

Notes:
  • We didn't know how much candy we could use to fill up each cookie. The first time the girls did it, they used very little candy. Part of the problem was also that the cut-outs were rather small making it difficult to fill. So no amount of spreading with a toothpick would help. In the next batch, we stayed with the star shape and heaped the candy. You don't want to do that as the candy bubbles over onto the cookie itself. Tastes just as good but doesn't look quite as pretty.

    Fill each cookie till the crushed candy is about level with or just less than the thickness of the cookie. More like so:

  • These cookies can be used to decorate your tree, too! If you want do that, make a small hole at the top with a straw. I don't particularly like to adorn my tree with edible stuff so we passed on this.

The party is next week and we are the hosts this year. The kids usually make gingerbread houses or forts. Some come up with outlandish designs. Medha has never been able to erect walls that stand up for more than 2 minutes. So she has a pile of graham crackers, lots of frosting and decorations. Some of the children eat their gingerbread houses. Most of it is destined for the trashcan. I wish I could say I like this part of the event but the truth is that I don't. It's the only part I have an issue with.

Medha is playing a variation of this at school, too. Secret Snowpeople, they are called. They have to bring in something special for their Snowperson. It could be a cinquain or a couplet that they wrote specially for their Snowperson. It could be a snack or a craft. They will do this for 3 days and the final gift, which will be shared on the day of the Holiday party, has to be under $5. I guess I will be baking a lot this weekend!

My post on Secret Santa last year led to a fair amount of discussion about secularism in schools. Last year I said:
If the schools acknowledge that religion exists, our children will grow up to be more accepting of others' beliefs.
And,
I am not saying that the onus of teaching religion should rest with the schools. What would help a great deal is acknowledging that there are several paths to God and maybe not, for those who don't believe in God.

I am really happy about some of the changes I have seen that I believe will lead to more acceptance and tolerance of cultural and religious diversity. In the past several months, Medha has come home with books from the library about Diwali, Eid, Hannukah and Kwanzaa. They get Time for Kids in school and one of the issues focused on India and its heritage. The Kindergarten teachers in her school are putting together a talk about different cultures and traditions. I might be asked to talk about Diwali.


As you can see, winter has really set in this year. We have already seen about 10 inches of snow. Over the plains in Kansas, they have been dealing with ice. I think we all need a Secret Santa to bring us some warmth!

The kids in Lesotho could certainly do with a Secret Santa who makes it possible for them to have a warm, nourishing lunch at school every day. It's been proven over and over again that food keeps the children in schools, ensuring that they get an education along with the nutrition. If you haven't already donated for Menu For Hope, please consider sharing some of the warmth in your homes with these children in Lesotho. Check out the prizes I am offering, along with Ammini Ramchandran. See what other bloggers are offering. This is an excellent cause and every $10 will buy you a raffle ticket for all these fabulous prizes.

Think about. Consider it. And, be a Secret Santa.

IFR Prizes: Menu For Hope 2007

It's that time of the year when everyone goes nuts trying to lay their hands on those 4 GPS systems that were marked down from $500 to $199. Or looking for that ever elusive Wii. When we stand in never-ending lines or in short lines that never move because everyone ahead of you bought out the store. We've been trying to tell Medha that she should think about those children in this world that are not as lucky as her. For whom, gifts at Christmas are an aberration because they don't have enough clothing or food to sustain them through their day. She feels deeply for those children but she is a child herself, and so she swings back to wanting one last thing from Santa this year. A toothfairy hangover perhaps. We want it to be her decision and I am hoping she will make the right one. If she does, we will donate the money to a worthy cause. And I figured what better cause than Menu for Hope 2007, an annual fundraising hosted by Pim Techamuanvivit, on her food blog Chez Pim.

Five years ago, the devastating tsunami in Southeast Asia inspired me to find a way to help, and the very first Menu for Hope was born. The campaign has since become a yearly affair, raising funds to support worthy causes worldwide. In 2006, Menu for Hope raised US$62,925.12 to help the UN World Food Programme feed the hungry.


This year, Indian Food Rocks joins Menu for Hope to raise money that will be go directly to the UN World Food Programme. This year the funds raised by Menu for Hope will be earmarked for a school lunch program in Lesotho, Africa.

The campaign will run from December 10-21.

Indian Food Rocks is happy to present two prizes to help raise money for this effort. A donation of $10 entitles you to a raffle ticket to a prize.

Prize Code UC 12
Grains, Greens, and Grated Coconuts, Recipes and Remembrances of a Vegetarian Legacy by Ammini Ramachandran

Readers of my blog need no introduction to Grains, Greens, and Grated Coconuts. It is the perfect cookbook to curl up with and experience vegetarian Kerala cooking from India at its best. It is a cookbook that I turn to several times a week for simple and tasteful vegetarian recipes. Ammini writes with a lot of passion and attention to detail. Most recipes are accompanied by a snippet of history or a personal anecdote. An autographed copy of this cookbook has been generously donated by the author, Ammini Ramachandran.

This prize can be shipped only within the continental USA.

Prize Code UC 13

Handmade Bead Necklace and Matching Earrings
I made this beautiful necklace and matching earring at a local bead shop last weekend. I carefully chose each bead and this is a one of a kind necklace and matching earrings will stand out at any black dress party.

This prize can be shipped only within the continental USA.

Here are some more pictures of the necklace and earrings. Click through to see the larger image.


Menu for Hope is now live!


Here's how you can make a difference:
  1. Choose a prize or prizes of your choice from our Menu for Hope at Chez Pim. Note the prize code(s).
  2. Go to the donation site at First Giving and make a donation. Remember that this money goes directly to the UN's WFP without going through any of the bloggers promoting this event.
  3. Please specify the prize code(s) for the prizes you would like in the Personal Message section in the donation form. You must specify how many tickets per prize, and use the prize code. Each $10 you donate will buy one raffle ticket toward any prize.For example, a donation of $50 can be 2 tickets for EU01 and 3 tickets for EU02. Please write 2xEU01, 3xEU02.
  4. If your company matches your charity donation, please check the box and fill in the information so we could claim the corporate match.
  5. Please check the box to allow us to see your email address so that we could contact you in case you win.Your email address will not be shared with anyone.
  6. Check back on Chez Pim on Wednesday Jaunary 9 for the results of the raffle.


A special thank you to Kalyn of Kalyn's Kitchen for being the gracious host for US Central.

Before you make your contribution, I would ask you to spend some time on some really moving images captured by the children of Lesotho that are now available on Pim's blog.

Crawlyflower tales

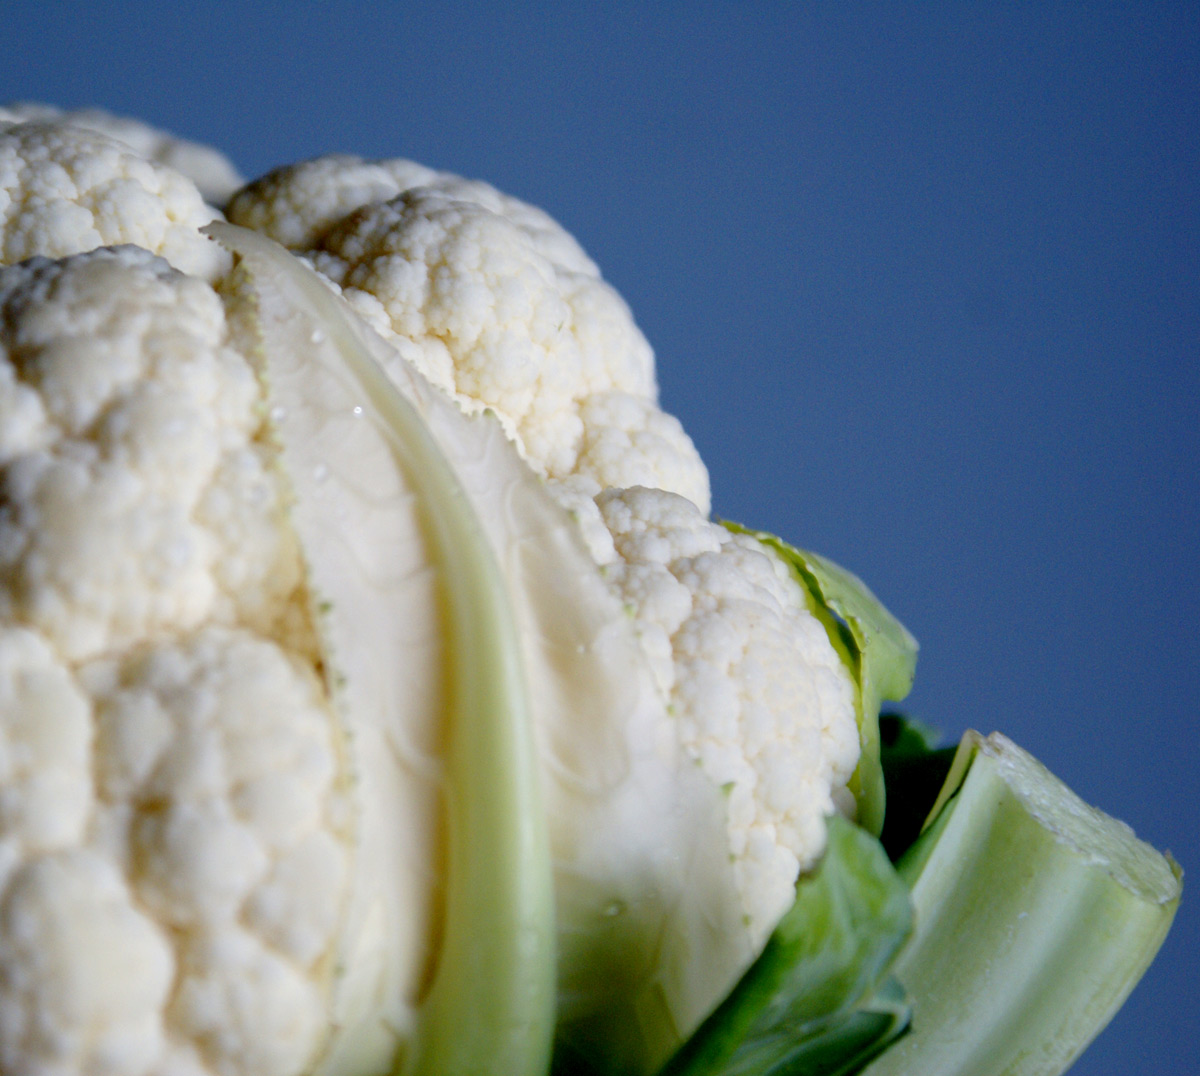
A few years ago, I found myself staring at luscious cauliflowers in the produce section with wonder and it was only then that I realized that I cooked only with frozen cauliflower. I vowed to change that immediately and placed a gorgeous cauliflower head in my cart. My heart sang all the way home because I knew I would be biting into the fresh taste of that crunchy crucifer that I had been missing all this time.

I set it up on my cutting board with great gusto and started removing all the outer leaves carefully. My father-in-law had told once me that those leaves were edible and quite nutritious but right now I was more interested in the "white curd" of the head. From the corner of my eye, I saw a very plump and very green young leaf move slightly. I turned the cauliflower to address that leaf and the other leaves that were still attached to the head in that area. I cut through the leaf only to see it start to ooze and wiggle like it was possessed.

That green leaf was a humongous green worm, fattened by all the minerals in the vegetable. My husband says I screamed the house down. I don't remember. I just remember curling up on the floor and wishing that the cauliflower and its resident would just disappear.

Needless to say, I had forgotten why I bought only frozen cauliflower. You see if there are a hundred cauliflowers in the produce bin, I pick the only one with worms in it. Such is my luck.

I went back to buying frozen cauliflower until very recently. I still don't care for worms in my produce but I have become more used to different types of worms after attempting to make a vegetable patch in my backyard this past summer. Medha is a fan of worms; she indulges in baby talk with earthworms that she holds her in her palm. She has dangled them in front of my face several times to see if my reaction changes over time; a scientific experiment, she says, to see if the data will change over a period of time. My screams are no longer as shrill as they used to be but my threats have become worse. And How to Eat Fried Worms also helped quite a bit. I sat through it without throwing up.

Cauliflower still remains one of our favorite vegetables and I am glad it does. If properly washed and cleansed of all trails that worms might have left behind, I love to eat it raw. I don't like it cooked or boiled into a soggy mess but I do love it when it's cooked well. Anita calls it al dente; I call it just right or tender but crisp.

There are so many ways in which to cook cauliflower that when my sister wouldn't stop raving about her friend Sushma's mouth-watering recipe, I just rolled my eyes. But she's not one to give up and made it for me when she visited. And I was hooked. It didn't have ginger like most aloo gobi ki subzis do, it had crushed garlic!

Cauliflower Subzi

Sushma's Aloo Gobi


  • 1 medium head cauliflower
  • 3-4 medium red potatoes
  • 2 tbsp oil
  • 2 medium cloves garlic, crushed
  • 1/2 tsp cumin seeds (optional)
  • 1 tsp cumin powder
  • 1 and 1/2 tsp coriander powder
  • 1/2 tsp red chilli powder, adjust to taste
  • 1/4 tsp turmeric powder
  • 2 tbsp tomato paste
  • 1/4 cup water
  • 1/2 tsp garam masala
  • salt to taste
  1. Cut the cauliflower into large florets, about 2 inches in size.
  2. Peel and dice the potatoes into slim chunks, about 1/4 inch by 1 inch. We will be adding the potatoes along with the cauliflower and we want them to cook without having to overcook the cauliflower.
  3. Heat oil in a large saucepan.
  4. Add crushed garlic. Before it browns, add cumin seeds, red chilli powder and turmeric powder.
  5. Take the saucepan off the stove and add cumin powder and coriander powder.
  6. Add cauliflower florets, potatoes and salt. Toss or stir well.
  7. Cover, return to stove and cook on a high flame until the cauliflower starts browning and the potatoes are cooked. Sprinkle with a little water to help the potatoes if they are taking too long to cook.
  8. Also dilute the tomato paste in 1/4 cup water, mixing it well into a thick paste.
  9. When the cauliflower is tender yet crisp and the potatoes have cooked, add the thick tomato paste and sprinkle the garam masala.
  10. Mix well in an almost folding-like action, briskly moving the cauliflower and potatoes from the bottom up.
  11. Cook for another 5 minutes, uncovered.
  12. Garnish with cilantro and serve hot with parothas or rotis and yogurt.


Notes:
  • I like to add some chopped green chillies towards the end for an added kick.
  • Any fragrant garam masala will do. If you would like to make your own, try this garam masala. Or you could use a store-bought garam masala. It's always better to make your own because you are sure you are using the choicest ingredients but not everyone has the time or the energy, in which case I think it's perfectly alright to use store-bought garam masala.


It look like it's raining cauliflower on the food blogs and that, too, without an event! I think it may have to do with it being a winter vegetable, with the growing season ending towards the end of October and even end of November in some places. Here are some of the mouth-watering recipes posted in the last couple of weeks:
Anita's Sookhi Aloo Gobhi
Ashwini's Gobi ka Kheema
Indira's Aloo Gobi with Kasuri Methi
Nupur's Spicy Cauliflower Soup


And now it's time to whoop a bit, do some virtual cartwheels and while I am at it, I might as well fly down a ski slope, too! I'm celebrating 30 consecutive days of posting, as part of NaBloPoMo. It was a lot of work and challenging at times but I did it! I did it!

I found some great local blogs, made some wonderful new friends and connected with several other bloggers. I hope to have a list of these blogs up soon!

Yay me!! And yay to all my NaBloPoMo friends and writers who wrote every day through the month of November! And yay to those to who joined in late and wrote with as much fervor!

For those of you, like Sandeepa, who want "nice" stuff to read everyday, I have some bad news. My blog will be going silent for at least a week while I try and rest those tired fingers, get some much needed sleep and catch up on my life! And you may not place bets on how long it will last! At least a week. Well, maybe a week. Or...

Four Mile Historic Park

Earlier this year, I was a chaperone for Medha's class on a field trip to the Four Mile Historic Park in Denver. It is named thus because it is four miles from downtown Denver.


Built in 1859, Four Mile House once served as a stage stop, wayside inn, and tavern for travelers on the Cherokee Trail on their way to Denver City.


We chose the pioneer sampler with the following activities: butter making, farm chores, pioneer games, prairie school and gold panning. Chaperones were assigned to each of the stations that had been set up all over the 12 acre park and my station, as you know, was the outdoor kitchen where we made sweet cream butter.

Most of the older homes had fully-equipped outdoor kitchens as the stoves were usually wood-burning stoves, making it unbearable to cook indoors in the summer heat. Quite frankly, even the outdoor kitchen was unbearable. We were there at the end of April with temperatures in the low 80s, without the stove on, and we couldn't wait to get into the shade!


There were a lot of cast-iron kitchen tools displayed in the outdoor kitchen that were probably forged on the farm itself. Like these tongs...

and this ladle...

and this gong! The kids had a great time 'calling everyone for dinner!'


This is an original butter churner that was used in those days to make butter. We were so busy in the outdoor kitchen that I did not get a chance to take a picture of the inside of the butter churner. The wooden shaft had an X-shaped stomper at the end that agitated the cream when it was moved up and down. We did not use this antique butter churner and instead made sweet cream butter in a jar.

It was a day of immense learning for all of us. Me, most of all, because I also learned that the homes that have sunk into the ground leaving only the roof are built like that by design. They aren't homes! They are root cellars!

I have vowed to go back to the Four Mile Historic Park again because I missed out on the other activities. Before leaving though, I took one last picture of an old wagon, a replica of the wagons used by the pioneers as they burnt the trail on their search for gold and riches.


Life on a farm in the early 1900s was very hard! We came away very grateful for all the amenities we have in our homes today, especially running water, electricity and heating. If you have an old working farm in your area, keep it in mind for a day trip as it is an eye-opener, both for kids as well as adults.

Other old-fashioned working farms we have visited in the past year are:
Walker Ranch, Boulder, Colorado
Ardenwood Historic Farm, Fremont, California

Have you been to a historic farm and learned something new? Do consider sharing your experience with the rest of us!

Yearning for Homemade Butter

Homemade butter was what I grew up with. My mother would skim the cream off the milk on a daily basis and collect it in a pot that contained yogurt culture. Once every 10 days or so, she would pull it out of the refrigerator and leave it out for a few hours, add some ice cold water and churn it manually with a wooden ravi or a wooden version of this. The butter soon separated and floated to the top. The rest of it was slightly tart buttermilk or taak, a welcome cooler by itself or made into mattha on hot summer days.

A hot boiled egg mashed with freshly made homemade butter and some salt was my nirvana. That was also the only way I would eat egg yolk. I called this safed loni as opposed to regular store bought butter, which was always yellow in color.

Ever wondered why store bought butter, usually made from cow's milk, is yellow? Depending on the cows' diet, the natural color of butter can range from a creamy white to a golden yellow. In order to maintain year round consistency in the final product, manufacturers add annatto which is a food coloring agent.

Homemade butter goes rancid quickly, even when refrigerated, and must be used up or cooked further to make ghee. This was the part I didn't much care for and begged my mother to do it on the day when I had to attend lectures all day and all evening.

There are days when I yearn for homemade butter. I was therefore thrilled to learn about making sweet cream butter when I accompanied Medha's class on a field trip to the Four Mile Historic Park in Denver, earlier this year. It's not quite safed loni but it's almost there.

Homemade Sweet Cream Butter

All you need is
  • Heavy Whipping Cream
  • A glass jar


  1. Pour about 1/3 cup of heavy whipping cream into the glass jar and close tightly
  2. Gather everyone in the family and take turns shaking the jar.
  3. Keep shaking it. After a few minutes of vigorous shaking, it will look like this:

    Don't be tempted, it's not done yet!
  4. It will thicken further but it's not done until you hear the buttermilk start sloshing in the jar and the whap-whap of the solid butter as it bounces off the sides. It should look like this:

    We did this in a couple of minutes in summer. In winter, it takes longer, which is why you want to take turns!
  5. Carefully drain out the buttermilk and save it to knead dough or add to curries, if you wish. If you are like us and can't wait, then go ahead and spread the fresh butter on crackers...


This is also a fun activity to do with children. They make the butter and then enjoy it right away. If you plan to bake with this butter, remember that it has more water content than store bought butter and make changes accordingly. I hope to have pictures from our field trip in my next post. Until then, check out these resources:
The History of Butter
Mattha from Cuisine Cuisine
Indira's Glorious Golden Ghee - a tutorial
Saliu's Andhra Spiced Buttermilk